Foxglove
What is Foxglove?
Foxglove is a visualisation tool for robotics data (similar to the commonly used ROS RViz tool). We support Foxglove because it enables intuitive access to sensor data in real-time or from recorded sessions, making it easier to work with the PULSE’s unique outputs within ROS2.
Foxglove and PULSE
foxgloveCalyoPulse is a custom extension for Foxglove that allows you to visualise data from the PULSE sensor within ROS2 environments. This tool helps you quickly access and interpret sensor outputs, making development and troubleshooting smoother.
Why Use foxgloveCalyoPulse?
foxgloveCalyoPulse provides specialised visualisation options for the PULSE sensor data directly in Foxglove. This integration supports:
- Real-time and playback visualisation
- Custom plots and overlays tailored to PULSE output data
Installation
foxgloveCalyoPulse is platform agnostic, but does require a local installation of Foxglove Studio (Foxglove web currently does not support third party plugins).
Download Foxglove studio for your system here, https://foxglove.dev/download.
After installation please sign in/up and navigate to the Settings > Extensions, and click Install local extension... and select the foxgloveCalyoPulse extension from your Calyo Software download folder (e.g. foxgloveCalyoTools-v0.0.4.foxe).
Foxglove extensions terminate with the file extension .foxe.
Installation ROS
To use Foxglove you must also setup an additional node in your ROS2 environment to bridge the data over the network.
To install the ROS Foxglove bridge you can follow the instructions here (https://docs.foxglove.dev/docs/connecting-to-data/ros-foxglove-bridge) or follow along below.
sudo apt install ros-$ROS_DISTRO-foxglove-bridge
e.g. for ROS2 Humble
sudo apt install ros-humble-foxglove-bridge
You can launch the node with:
ros2 launch foxglove_bridge foxglove_bridge_launch.xml
To allow the server to send the custom ROS message types ensure that calyosensus_msgs package has been correctly sourced.
You can change the port of the server by setting the port:= parameter.
For example: `ros2 launch foxglove_bridge foxglove_bridge_launch.xml port:=8564```
See https://docs.foxglove.dev/docs/connecting-to-data/ros-foxglove-bridge for further details about the other parameters.
Usage
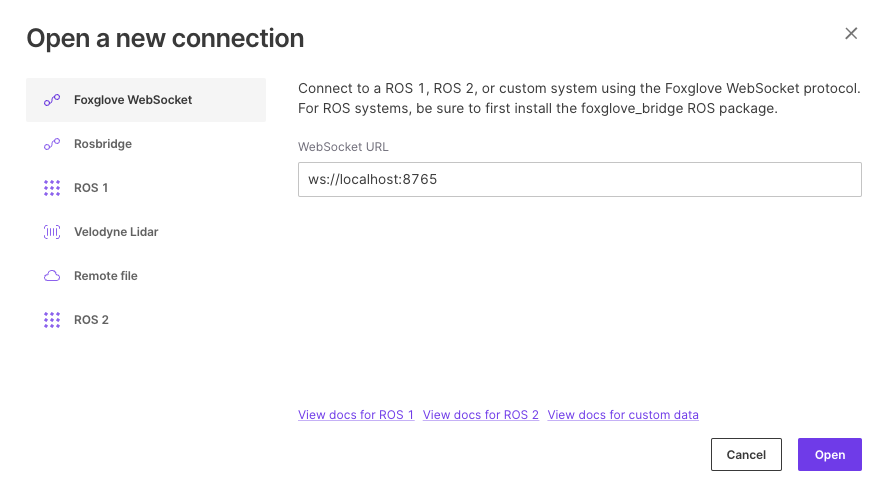
Once the server is running you can connect to it by clicking Open Connection inside of foxglove studio.
ws://localhost:8765
ws://<local_ip_of_ros_server>:8765